How to Test Air Quality in Your Home: DIY & Professional Methods

Testing your home's air quality involves using monitors that measure pollutants like PM2.5 and VOCs, or hiring professionals for comprehensive assessments. Most homeowners start with affordable digital monitors ($50-$300) that provide real-time readings, while professional testing ($300-$1000+) offers detailed laboratory analysis for specific concerns like radon or mold. The method you choose depends on your symptoms, budget, and whether you need certified results for remediation work.
Table of Contents
- Why Indoor Air Quality Testing Matters for Your Health
- Common Indoor Air Pollutants and Their Health Effects
- Signs Your Home May Have Air Quality Issues
- DIY Air Quality Testing Methods: What You Can Do Yourself
- Using Indoor Air Quality Monitors
- Radon and Mold Testing Kits
- Visual Inspection and Sensory Assessment
- Professional Air Quality Testing: When to Call the Experts
- What Professional Testing Includes
- How to Choose a Qualified Air Quality Professional
- Cost Breakdown and What You're Paying For
- Step-by-Step: How to Test Your Home's Air Quality (DIY Approach)
- Preparing for Accurate Testing
- Conducting Tests and Recording Results
- Understanding Your Test Results: What the Numbers Mean
- Taking Action: What to Do After Testing Your Air Quality
Why Indoor Air Quality Testing Matters for Your Health
Indoor air pollutant levels can reach 2-5 times higher than outdoor air, and occasionally exceed outdoor levels by more than 100 times (according to the EPA). This matters because people spend approximately 90% of their time indoors, where they're continuously exposed to whatever contaminants circulate through their living spaces. The EPA ranks indoor air quality among the top five environmental risks to public health, particularly for people with respiratory conditions or compromised immune systems.
Testing becomes critical when you notice unexplained health symptoms that improve when you leave home. New homes often contain elevated volatile organic compounds (VOCs) from fresh paint, flooring, and furniture off-gassing. Renovations disturb settled dust and can expose hidden mold or asbestos. Well, even without obvious triggers, seasonal allergies that worsen indoors or persistent stuffiness signal potential air quality problems worth investigating.
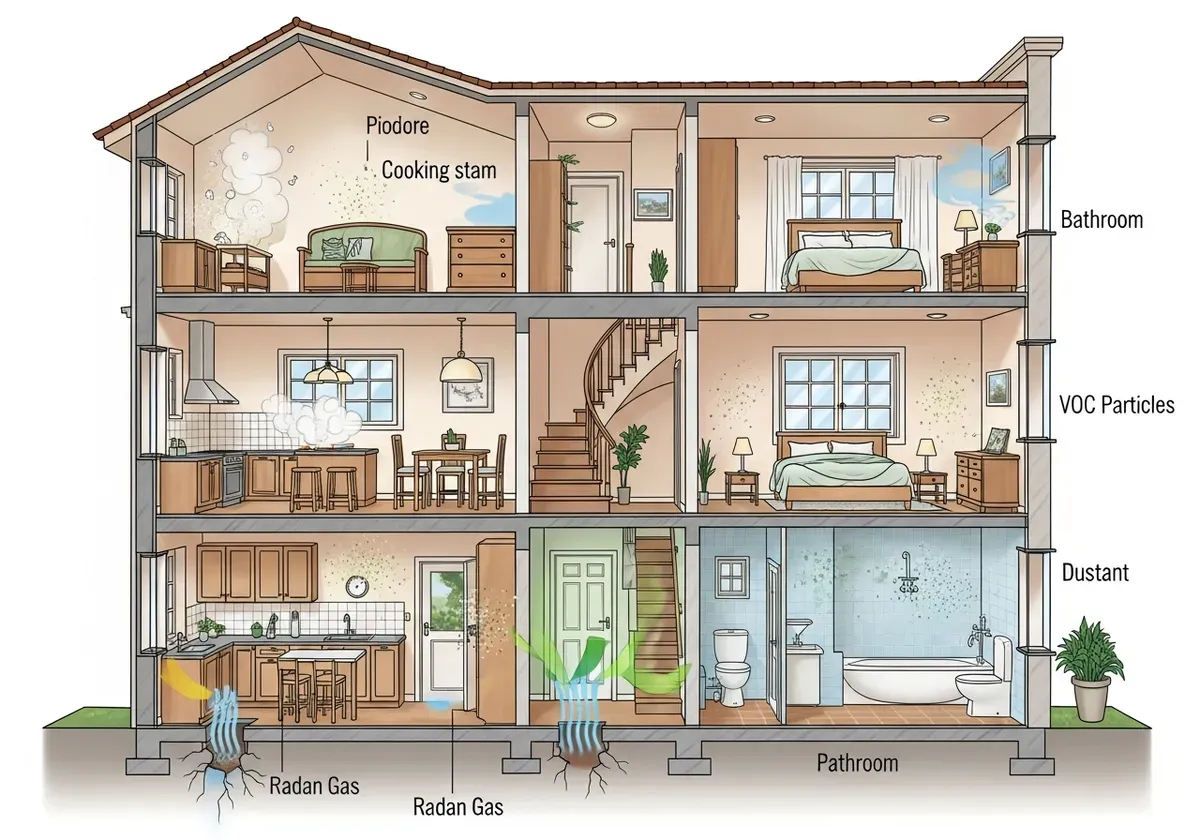
Common Indoor Air Pollutants and Their Health Effects
Particulate matter (PM2.5), tiny particles 2.5 micrometers or smaller, penetrates deep into lungs and enters the bloodstream. These particles come from cooking, candles, fireplaces, and outdoor air that infiltrates your home. Long-term exposure aggravates asthma, increases cardiovascular risk, and causes chronic respiratory irritation.
Volatile organic compounds are gases released from paints, cleaning products, furniture, and building materials. Common VOCs like formaldehyde and benzene cause headaches, dizziness, and throat irritation at low levels. Prolonged exposure to high concentrations links to liver damage and increased cancer risk.
Radon is a radioactive gas that seeps through foundation cracks from soil beneath homes. It's the second leading cause of lung cancer in the United States (according to the EPA). You cannot see, smell, or taste radon, testing is the only detection method.
Carbon monoxide (CO) is a colorless, odorless gas from fuel-burning appliances like furnaces, water heaters, and gas stoves. CO poisoning causes sudden illness and death by preventing oxygen from reaching organs and tissues. Mold spores trigger allergic reactions, asthma attacks, and respiratory infections, particularly in damp basements, bathrooms, and areas with water damage.
Signs Your Home May Have Air Quality Issues
Physical symptoms provide your first clues. Morning headaches that fade after leaving home, persistent coughing without illness, eye irritation, fatigue, and difficulty concentrating all suggest poor air quality. If multiple household members experience similar symptoms that improve outdoors, your indoor environment likely contains elevated pollutants.
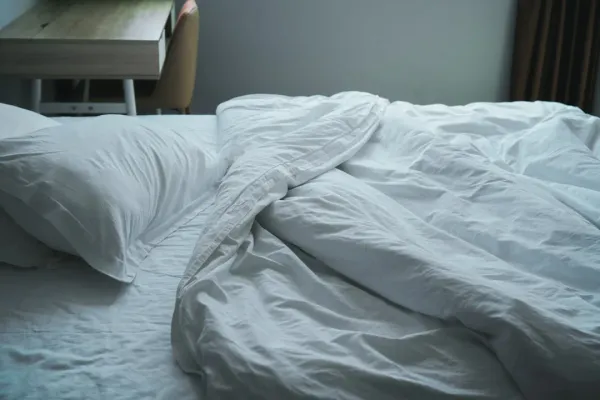
Visible indicators include dust settling on surfaces within a day of cleaning, condensation on windows, musty odors, visible mold growth on walls or ceilings, and discolored HVAC filters after just a few weeks. Stuffiness that doesn't improve with open windows points to inadequate ventilation or high humidity levels.
Trust your sensory assessment.
Situational patterns matter too. Allergies that intensify indoors compared to outdoors, rooms that smell stale despite regular cleaning, and areas where you instinctively avoid spending time all warrant investigation. Your nose and lungs detect problems before monitors do.
DIY Air Quality Testing Methods: What You Can Do Yourself
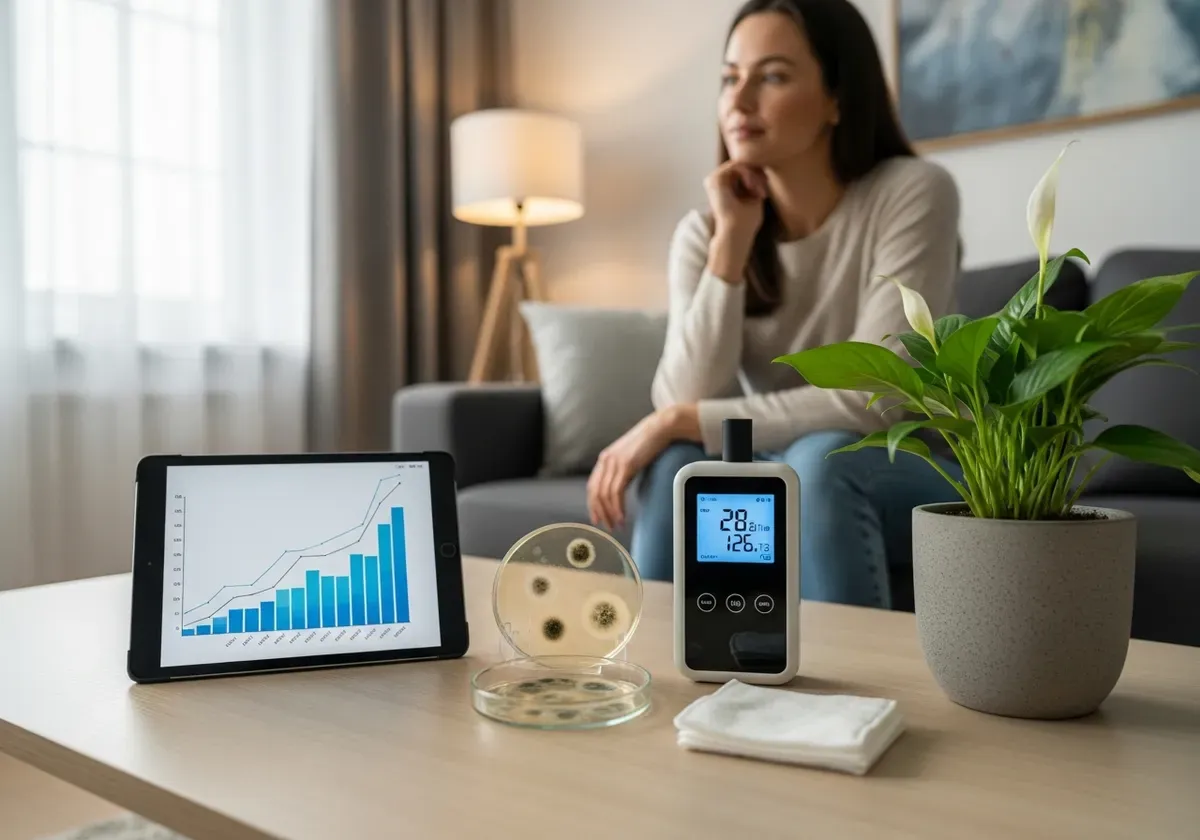
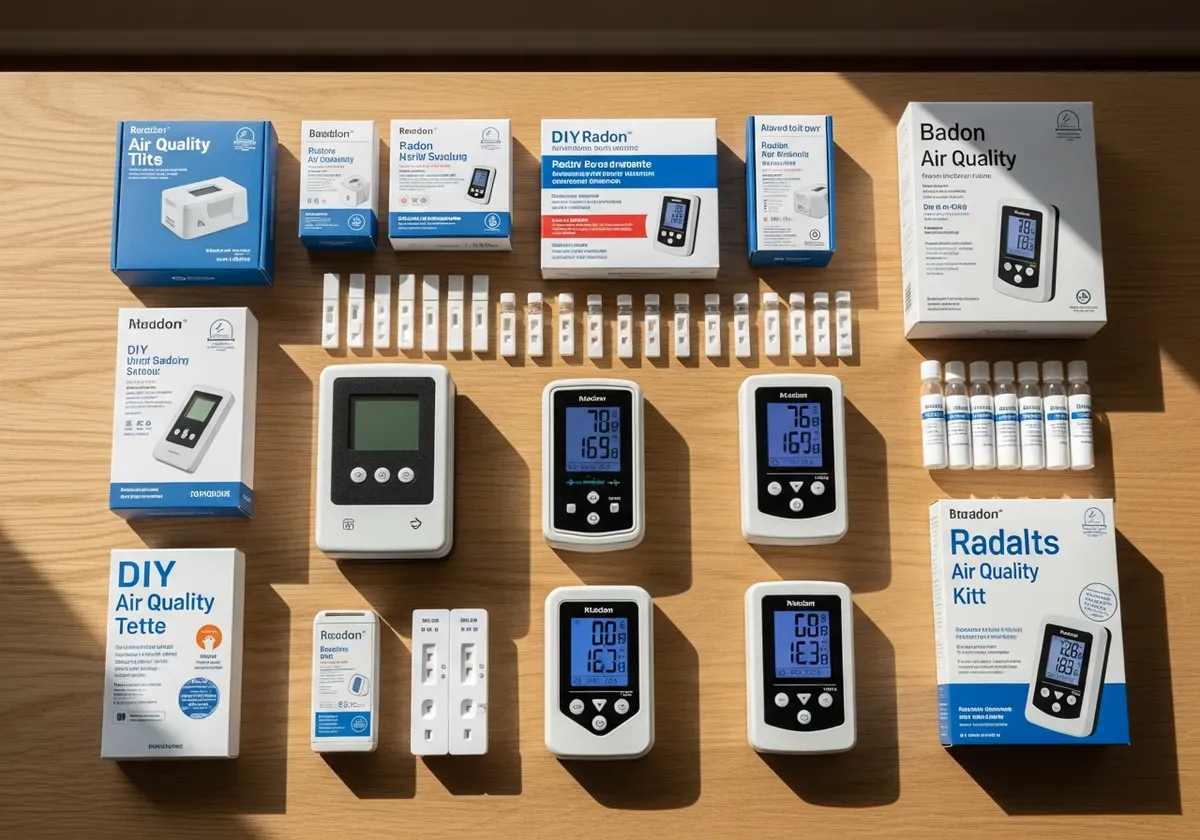
DIY testing gives you immediate feedback about your home's air quality without waiting for professional appointments. Digital monitors provide continuous measurements, while mail-in test kits analyze specific pollutants through laboratory testing. Most homeowners benefit from combining both approaches: monitors for ongoing tracking and targeted kits for concerns like radon or mold.
Common Indoor Air Pollutants and Health Effects
| Pollutant | Source | Health Effects | Detection Method |
|---|---|---|---|
| Particulate Matter (PM2.5) | Cooking, candles, fireplaces, outdoor air infiltration | Lung penetration, asthma aggravation, cardiovascular risk, chronic respiratory irritation | Digital air quality monitors |
| Volatile Organic Compounds (VOCs) | Paints, cleaning products, furniture, building materials | Headaches, dizziness, throat irritation; prolonged exposure linked to liver damage and cancer risk | Digital monitors (higher-end models) or professional testing |
| Radon | Soil beneath homes (seeps through foundation cracks) | Second leading cause of lung cancer in the US | Radon test kits or professional testing only |
| Carbon Monoxide (CO) | Furnaces, water heaters, gas stoves | Sudden illness, death by preventing oxygen from reaching organs | CO detectors or professional testing |
| Mold Spores | Damp basements, bathrooms, areas with water damage | Allergic reactions, asthma attacks, respiratory infections | Mold test kits or professional testing |
Understanding these pollutants' presence requires choosing between accessible home tests and certified professional assessments.
Comparison of DIY vs. Professional Air Quality Testing Methods
| Testing Method | Cost Range | Pollutants Detected | Time to Results | Best For |
|---|---|---|---|---|
| Digital Air Quality Monitors | $50–$300 | PM2.5, VOCs, CO2, humidity, temperature (some models add formaldehyde) | Real-time readings | Continuous monitoring and quick assessments |
| Radon/Mold Test Kits (Mail-in) | $15–$50 per kit | Radon or mold spores (specific to kit type) | 1–2 weeks (lab analysis) | Targeted testing for specific concerns |
| Professional Testing | $300–$1,000+ | All common pollutants plus specialized analysis (radon, mold, asbestos) | 1–2 weeks (lab analysis) | Comprehensive assessments and certified results for remediation |
Using Indoor Air Quality Monitors
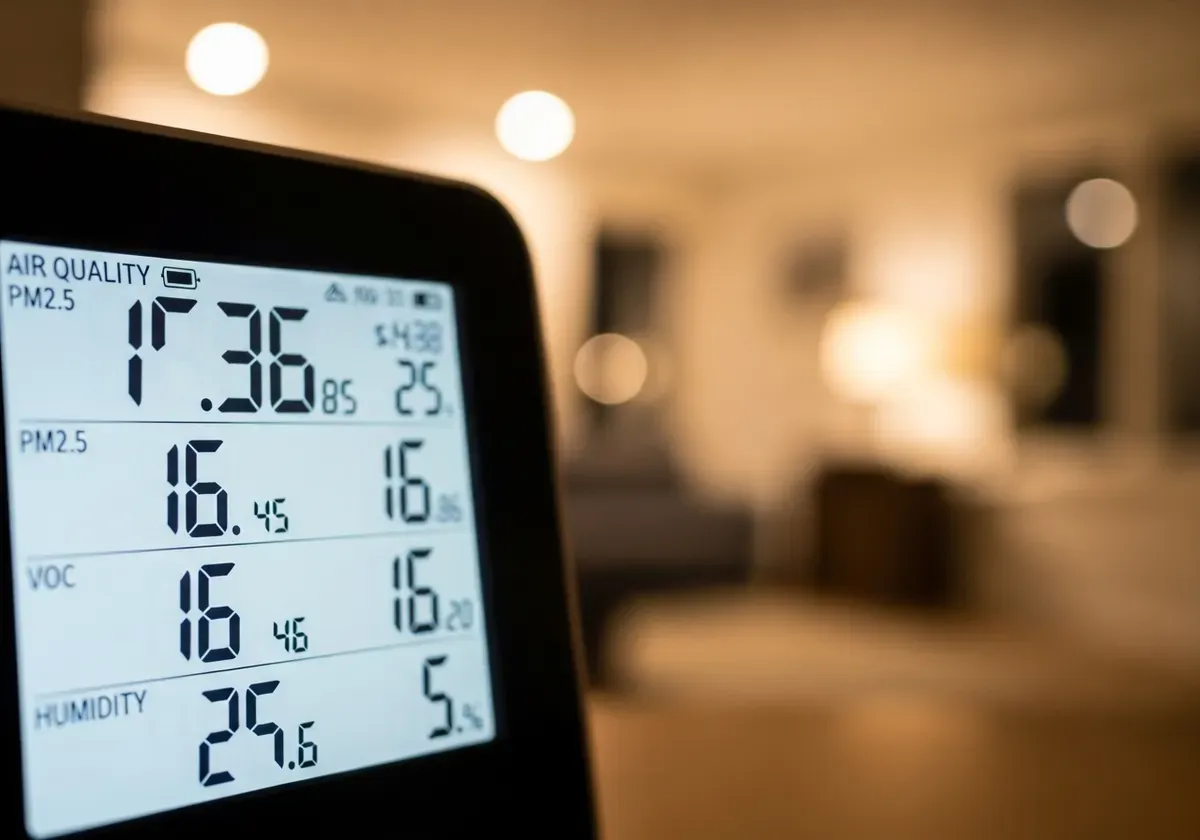
Indoor air quality monitors use sensors to detect multiple pollutants simultaneously. Most consumer models ($50-$300) measure PM2.5, VOCs, carbon dioxide, humidity, and temperature. Higher-end monitors add formaldehyde and PM10 detection. The devices pull air across sensors that respond to specific pollutants, converting those readings into numeric values displayed on screens or smartphone apps.
Look for monitors that display PM2.5 in micrograms per cubic meter (μg/m³) rather than just color-coded ratings. Safe indoor levels stay below 12 μg/m³, while readings above 35 μg/m³ indicate unhealthy air that requires intervention. VOC readings appear as parts per billion (ppb) or a total VOC index, with levels below 220 ppb considered acceptable for most people.
Place your monitor 3-6 feet above floor level, away from windows, doors, and air vents that create unrepresentative readings. Bedrooms deserve priority since you spend 6-8 hours there nightly breathing the same air. Run the monitor for at least a week to capture patterns from cooking, cleaning, and daily activities. Many models store historical data, letting you correlate air quality spikes with specific events.
I installed an Airthings View Plus in my bedroom and discovered my PM2.5 levels spiked to 48 μg/m³ every morning around 7 AM—exactly when my husband started his coffee routine in the adjacent kitchen. The monitor's graph showed me what my nose couldn't detect: our 'harmless' breakfast ritual was flooding the bedroom with particles for nearly an hour. Within three days of tracking, I'd connected our worst air quality windows to cooking times, candle burning, and even the dusty return from our evening dog walks.
Radon and Mold Testing Kits
Radon test kits ($10-$30) use passive collection methods that require no power or expertise. Short-term tests sit in your lowest lived-in level for 2-7 days, while long-term tests remain for 90+ days to account for seasonal variations. Place the kit in a frequently used basement room or first-floor space, 20 inches or higher from the floor, away from exterior walls and high-humidity areas.
Keep windows and doors closed 12 hours before and during testing to create worst-case conditions that reveal your home's maximum radon potential. After the testing period, seal the kit and mail it to the laboratory address provided. Results typically arrive within 2-3 weeks, showing radon concentration in picocuries per liter (pCi/L). The EPA recommends fixing homes with levels at or above 4 pCi/L.
Mold test kits ($10-$50) come in two types: air sampling and surface sampling. Air tests capture spores floating through rooms using collection plates or cassettes. Surface tests use swabs or tape to sample visible growth. Honestly, professional mold testing provides more reliable results, but DIY kits help you determine whether professional assessment is worth the investment. Follow kit instructions precisely regarding sampling location, duration, and shipping to ensure valid results.
Visual Inspection and Sensory Assessment
Walk through your home with a notebook, documenting what you see and smell in each room. Check window sills and corners for condensation or discoloration indicating moisture problems. Examine bathroom ceilings, basement walls, and areas beneath sinks for mold growth, which appears as black, green, or white patches.
Pull your HVAC filter and hold it to light. If you cannot see light through it after just one month, your system is pulling excessive particulates from your air or the filter has insufficient airflow capacity. Check the filter's MERV rating, it should be between 8-13 for residential systems. Look at return air vents for dust buildup that indicates poor filtration or duct leakage.
Use an inexpensive hygrometer ($10-$20) to measure relative humidity in different rooms. Readings should stay between 30-50% to minimize biological pollutants (according to the EPA). Basements often show higher humidity, creating conditions where mold thrives. Persistent musty odors, even without visible mold, indicate hidden growth inside walls or under flooring that requires professional investigation.
Professional Air Quality Testing: When to Call the Experts
Professional testing becomes necessary when DIY methods reveal problems requiring certified documentation for remediation work. If you're experiencing persistent health issues despite normal DIY readings, professionals use more sensitive equipment that detects lower pollutant concentrations. Home purchases, especially older properties, benefit from pre-purchase air quality assessments that identify hidden issues before you commit financially.
Post-renovation testing verifies that contractors properly contained dust and volatile compounds during construction work. Some states require professional radon testing for real estate transactions, and insurance claims for mold or water damage typically need certified test results. To be fair, professional testing costs more upfront but prevents expensive mistakes from misinterpreting DIY results or missing pollutants that consumer monitors don't detect.
What Professional Testing Includes
Comprehensive professional assessments test for pollutants beyond consumer monitor capabilities. Certified inspectors measure formaldehyde separately from total VOCs, identify specific mold species through laboratory analysis, and test for carbon monoxide from all fuel-burning appliances. They evaluate your HVAC system's performance, checking whether it provides adequate ventilation and filtration for your home's size.
Professionals use calibrated equipment that meets industry standards for accuracy. Their particulate counters detect particles across multiple size ranges (PM10, PM2.5, PM1.0), while VOC sensors identify individual compounds rather than just total concentrations. Radon testing uses continuous monitors that track hourly fluctuations, revealing whether levels spike during specific conditions.
You receive detailed written reports showing measurements for each room tested, comparison to health-based standards, and specific recommendations for remediation. These reports satisfy insurance requirements, provide documentation for contractors, and create baseline data for verifying that improvements actually work.
How to Choose a Qualified Air Quality Professional
Look for inspectors certified by the Indoor Air Quality Association (IAQA) or holding state-specific environmental licenses. Ask about their experience with homes similar to yours and request sample reports to evaluate their thoroughness. Qualified professionals explain their testing methodology before starting and answer questions without pressuring you toward specific remediation services.
Get quotes from three inspectors, comparing not just price but what pollutants they test and whether follow-up consultation is included. Red flags include guaranteed findings before testing, bundled remediation services that create conflict of interest, and reluctance to provide references from recent clients. Reputable inspectors carry professional liability insurance and provide contracts detailing exactly what testing they'll perform.
Cost Breakdown and What You're Paying For
Basic professional testing starts around $300-$500 for a standard home, covering PM2.5, VOCs, carbon monoxide, humidity, and temperature across 4-6 rooms. Comprehensive assessments including radon, mold, formaldehyde, and HVAC evaluation range from $600-$1000. Larger homes or additional testing for specific concerns like asbestos add $200-$400 per pollutant.
You're paying for calibrated equipment that costs thousands of dollars, professional interpretation that distinguishes normal readings from actionable problems, and liability insurance that protects you if testing misses significant issues. The written report itself has value for insurance claims, real estate transactions, and contractor accountability.
Health insurance rarely covers air quality testing unless your doctor documents specific environmental illness. However, the cost often proves worthwhile compared to ongoing medical expenses from undiagnosed air quality problems. Consider professional testing an investment in identifying root causes rather than endlessly treating symptoms with medications and doctor visits.
Step-by-Step: How to Test Your Home's Air Quality (DIY Approach)
Start by identifying your primary concerns based on symptoms or visible problems. If you're experiencing respiratory issues, prioritize PM2.5 and VOC testing. Musty odors warrant mold testing, while unexplained fatigue and headaches suggest checking carbon monoxide and VOCs. This targeted approach keeps initial costs manageable while addressing your most pressing health concerns.
Purchase an indoor air quality monitor appropriate for your priorities. Entry-level models ($50-$100) cover basics like PM2.5, VOCs, and humidity. Mid-range monitors ($150-$250) add formaldehyde detection and more accurate sensors. Order radon test kits if your home has a basement or you're in a high-radon region, the EPA provides radon zone maps by ZIP code on their website.
Preparing for Accurate Testing
Create normal living conditions rather than artificially improving air quality before testing. Run your HVAC system as usual, cook typical meals, and maintain regular cleaning schedules. Avoid testing during extreme weather that forces unusual window closing or excessive heating and cooling, you want results that reflect everyday conditions.
Close windows and exterior doors 12 hours before starting radon tests to prevent dilution from outdoor air. For general air quality monitoring, maintain your normal ventilation habits so results reflect actual exposure. Test bedrooms first since you spend the most continuous time there, followed by main living areas and basement if applicable.
Document your testing plan including dates, room locations, and any relevant events (painting, cleaning, cooking). This record helps you interpret results and correlate air quality changes with specific activities.
Conducting Tests and Recording Results
Position your air quality monitor 3-6 feet above the floor, away from windows, exterior doors, and HVAC vents. Nightstands, dressers, and bookshelves work well for bedroom testing. Leave the monitor in each priority room for at least 48 hours to capture day-night cycles and various activities.
Check readings at consistent times daily, noting any spikes that correspond with cooking, cleaning, or other activities. Most monitors store hourly or daily averages, creating patterns that reveal when your air quality deteriorates. Record peak readings and 24-hour averages in your testing log.
For radon testing, place the kit in your lowest lived-in level, 20+ inches above the floor, in a room you use regularly. Keep it away from kitchens, bathrooms, and laundry rooms where humidity and air movement create artificially low readings. Mark your calendar for the end date, then seal and mail the kit promptly to avoid contamination.
A 2019 study published in Building and Environment found that PM2.5 concentrations varied by an average of 68% between different rooms in the same home, with bedrooms typically showing 30-40% lower particulate levels than kitchens during cooking hours. The same research revealed seasonal swings of up to 3x higher indoor particle counts during winter months when homes remain sealed, compared to spring and fall when natural ventilation increases. Testing multiple rooms at different times of day captures these variations—your living room at 6 PM may show readings double what your bedroom registers at 7 AM, helping you identify which spaces need the most attention.
Understanding Your Test Results: What the Numbers Mean
PM2.5 readings below 12 μg/m³ indicate good air quality for most people, including those with asthma or allergies. Levels between 12-35 μg/m³ may trigger symptoms in sensitive individuals. The EPA's 24-hour standard of 35 μg/m³ represents the threshold where air becomes unhealthy for everyone (according to EPA National Ambient Air Quality Standards). Readings above 55 μg/m³ require immediate action to reduce exposure.
Total VOC readings vary by monitor, but most use scales where levels below 220 ppb are acceptable. Readings of 220-660 ppb indicate moderate contamination from off-gassing materials or cleaning products. Above 660 ppb suggests significant sources requiring ventilation or removal. Some monitors display VOC index scores (0-500) rather than ppb, with scores above 250 warranting investigation.
Carbon dioxide levels reflect ventilation adequacy rather than direct health threats. Outdoor air contains roughly 400 ppm CO2, while indoor levels typically range from 600-1000 ppm. Readings consistently above 1000 ppm indicate insufficient fresh air exchange, causing stuffiness and reduced cognitive function.
Radon results in pCi/L determine whether mitigation is necessary. The EPA recommends fixing homes at or above 4 pCi/L, though they suggest considering mitigation between 2-4 pCi/L since no radon level is completely safe. Results below 2 pCi/L are considered acceptable, though retesting every 2-5 years remains advisable since radon levels change over time.
Humidity readings between 30-50% relative humidity prevent most mold growth and dust mite proliferation while keeping air comfortable. Below 30% causes dry skin and respiratory irritation. Above 60% creates conditions where mold and bacteria thrive.
Taking Action: What to Do After Testing Your Air Quality
Start with the simplest improvements that address your specific test results. High PM2.5 readings respond to HEPA air purifiers sized appropriately for your room square footage. Calculate the room's area and choose purifiers with Clean Air Delivery Rate (CADR) of at least two-thirds the room's square footage. Run purifiers continuously in bedrooms and main living areas for maximum benefit.
Elevated VOCs require source identification and removal when possible. New furniture, mattresses, and carpeting off-gas for months after installation. Increase ventilation by opening windows when outdoor air quality permits, or run bathroom and kitchen exhaust fans more frequently. Consider replacing harsh cleaning products with low-VOC alternatives, many conventional cleaners emit compounds that linger for hours after use.
High radon levels above 4 pCi/L require professional radon mitigation systems that cost $800-$2500 installed. These systems use fans and pipes to draw radon from beneath your foundation and vent it above your roofline. After installation, retest to verify levels dropped below 4 pCi/L.
Poor ventilation indicated by high CO2 readings improves through several approaches. Open windows for 10-15 minutes several times daily to flush stale air, even during winter. Ensure bathroom and kitchen exhaust fans vent outdoors rather than into attics. Consider installing a heat recovery ventilator (HRV) or energy recovery ventilator (ERV) that brings fresh outdoor air while minimizing heating and cooling losses.
Mold problems require addressing moisture sources before remediation. Fix leaks, improve bathroom ventilation, and use dehumidifiers to maintain humidity below 50%. Small mold patches (less than 10 square feet) can be cleaned with detergent solution and thorough drying. Larger infestations require professional remediation to prevent spore dispersal during cleaning.
Retest after implementing improvements to verify effectiveness. Run your air quality monitor in the same locations using identical conditions to create valid comparisons. Most interventions show results within days for particulates and VOCs, while radon mitigation requires retesting after the system operates for at least 30 days. Document your improvements with before-and-after readings to track progress and justify the investment in your home's air quality.
"Start with the issues that pose immediate health risks—elevated carbon monoxide, radon above 4 pCi/L, or active mold growth—then move to particle control and VOC reduction," says Larry Schwartz, President of the Indoor Air Quality Association and a certified indoor environmentalist with over 30 years of experience in residential air quality assessment.
Create an ongoing monitoring schedule rather than one-time testing. Check your air quality monitor weekly, noting any patterns or unusual spikes. Replace HVAC filters every 1-3 months depending on air quality readings and visible dirt accumulation. Test radon every 2-5 years or after any foundation work that might alter soil gas entry. This proactive approach catches problems early, before they affect your health or require expensive remediation.
Related Articles
- Professional Air Quality Testing Near Me: What to Expect & Cost
- Home Air Quality Testers: Types, Accuracy & Buying Guide
- Best Indoor Air Quality Monitors: 2024 Buyer's Guide & Reviews
- Home Air Quality Monitoring System: Complete Setup Guide
- 9 Science-Backed Air Purifier Benefits for Your Health & Home
- Best Air Purifiers for Home: 2024 Expert Reviews & Buyer's Guide
Frequently Asked Questions
What's the difference between DIY air quality monitors and professional testing?
DIY monitors ($50-$300) provide real-time readings of common pollutants like PM2.5 and VOCs, while professional testing ($300-$1000+) offers certified laboratory analysis and can detect specific contaminants like radon or mold. Choose DIY for quick screening or professional testing when you need certified results for remediation work or have specific health concerns.
How often should I test my home's air quality?
Test immediately if you notice unexplained health symptoms that improve outdoors, after renovations or in new homes, and seasonally if allergies worsen indoors. For ongoing monitoring, use a digital monitor continuously or conduct quarterly checks to track changes in your home's air quality over time.
Can I detect radon or mold with DIY testing kits?
Yes, affordable DIY radon and mold testing kits are available, but results may be less reliable than professional lab analysis. For radon, the EPA recommends professional testing for definitive results since radon cannot be seen, smelled, or tasted. If DIY results suggest problems, follow up with professional testing before investing in remediation.
What should I do if my air quality test shows high pollutant levels?
First, identify the pollution source (cooking, cleaning products, mold, poor ventilation, etc.). Improve ventilation by opening windows, use air purifiers with appropriate filters, remove sources when possible, and consider professional remediation for serious issues like radon or mold. Consult a professional if symptoms persist after initial improvements.
Are air quality monitors accurate enough to rely on for health decisions?
Consumer air quality monitors provide useful real-time data for tracking trends and identifying problem areas, but may have accuracy limitations compared to professional equipment. Use them as screening tools to guide whether professional testing is needed, especially for serious health symptoms or specific contaminants like radon that require certified testing.
What PM2.5 and VOC levels are considered safe in a home?
The EPA recommends PM2.5 levels stay below 12 µg/m³ for long-term exposure. For VOCs, there's no single EPA standard, but levels should be as low as reasonably achievable. Your test results should include reference ranges; if readings exceed recommended levels, focus on ventilation improvements and source removal.
Do I need professional air quality testing if I don't have obvious symptoms?
Not necessarily, but testing is worthwhile if you've recently renovated, moved to a new home, notice visible mold or excessive dust, or have family members with respiratory conditions. Since indoor air can be 2-5 times more polluted than outdoor air, periodic screening provides peace of mind and catches problems early.